Beginner Sourdough Bread Recipe: Step-by-Step First Loaf
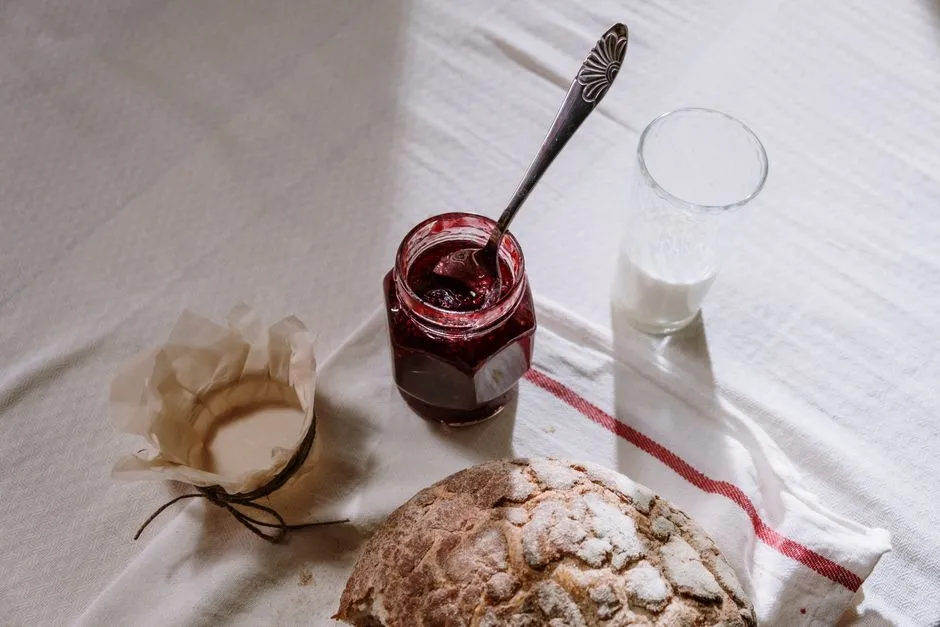
The Beginner Sourdough Bread Recipe That Actually Works on Your First Try
A beginner sourdough bread recipe should have four ingredients, no kneading, and a schedule that fits around a normal day. This one does: 500 g bread flour, 350 g water, 100 g active sourdough starter, and 10 g salt, mixed in the early afternoon, folded a few times over four to five hours, shaped in the evening, refrigerated overnight, and baked in a covered Dutch oven the next morning at 450°F (230°C). The dough runs about 72% hydration overall — wet enough for an open, moist crumb, dry enough that a first-timer can still handle it.
That's the whole method in one paragraph. The rest of this guide walks through each step in real time, with the visual cues that matter more than the clock, the full baking schedule laid out hour by hour, and the fixes for the three ways first loaves most often go wrong.
What You Need Before You Start
A ripe, active starter. This recipe assumes you already have a sourdough starter that reliably doubles within 4 to 8 hours of feeding. If you don't have one yet, start with our 7-day sourdough starter guide — it takes about a week from flour and water to a starter strong enough to raise bread, and there's no shortcut around that step.
A kitchen scale. Sourdough is a ratio, and cups are too imprecise for a first loaf. Every measurement below is in grams, with rough volume equivalents for reference only. A basic digital scale is the single best investment a beginning bread baker can make.
A Dutch oven with a lid, 4 quarts or larger. The sealed pot traps steam during the first half of the bake, which is what gives sourdough its blistered, crackling crust and lets the loaf expand fully before the crust sets. Any heavy lidded pot that's oven-safe to 450°F works.
Helpful but not required: a bench scraper, a banneton (a mixing bowl lined with a floured kitchen towel substitutes fine), a razor blade or sharp knife for scoring, and an instant-read thermometer.
Ingredients
| Ingredient | Grams | Approximate volume | Baker's percentage |
|---|---|---|---|
| Bread flour | 500 g | about 4 cups | 100% |
| Water, lukewarm (80–85°F) | 350 g | about 1½ cups | 70% |
| Active sourdough starter | 100 g | about ½ cup | 20% |
| Fine sea salt | 10 g | about 2 teaspoons | 2% |
A note on the numbers: the 70% listed for water is the classic baker's-percentage figure measured against the 500 g of flour. Because a 100% hydration starter carries its own flour and water (50 g of each), the dough's true overall hydration is 400 g water against 550 g flour — about 72%. You don't need to do anything with that math; it just explains why the dough feels slightly wetter than "70%" suggests.
All-purpose flour works if that's what you have; expect a slightly softer dough and a marginally less open crumb. Whole wheat swaps are best saved for your second or third loaf, since whole-grain flours absorb more water and ferment faster, which changes the timing below.
The Full Sourdough Baking Schedule
This is the schedule question every beginner asks, so here it is as a table you can pin to the fridge. Times assume a room around 70°F (21°C); a cooler kitchen — common in the Northwest most of the year — stretches every fermentation window longer, and a warm summer kitchen shortens them.
| Time | Step | What you're doing |
|---|---|---|
| 7:00 a.m. | Feed starter | Feed so it peaks by early afternoon |
| 1:00 p.m. | Mix | Combine starter, water, flour; rest 30 min |
| 1:30 p.m. | Add salt | Work in salt; begin bulk fermentation |
| 2:00–5:00 p.m. | Stretch and folds | 4 sets, roughly 30–45 min apart |
| 5:00–6:30 p.m. | Finish bulk | Dough rests untouched until risen ~50–75% |
| 6:30 p.m. | Shape | Pre-shape, rest 20 min, final shape |
| 7:00 p.m. | Cold proof | Into the fridge, covered, overnight |
| 8:00 a.m. next day | Bake | 20 min covered, 20–25 min uncovered |
| 9:00 a.m. | Cool | At least 1 hour before slicing — no exceptions |
Total elapsed time is about 26 hours, but your actual hands-on work is under 30 minutes.
Step by Step
1. Feed your starter (morning)
Feed your starter 4 to 8 hours before you plan to mix, timed so it hits its peak — doubled or more, domed on top, full of bubbles — right when you need it. A quick check: drop a spoonful in a glass of water. If it floats, it's ready. If it sinks and looks flat, give it more time or refeed and mix later.
2. Mix the dough (1:00 p.m.)
In a large bowl, dissolve 100 g of starter into 350 g of lukewarm water with your fingers. Add 500 g of bread flour and mix until no dry patches remain — a shaggy, rough mass is exactly right. Cover the bowl and let it rest for 30 minutes. This rest (bakers call it an autolyse-style rest) lets the flour hydrate fully so the dough strengthens itself with almost no work from you.
3. Add the salt (1:30 p.m.)
Sprinkle 10 g of salt over the dough with a splash of water — a teaspoon or so — to help it dissolve. Pinch and squeeze the salt through the dough for two to three minutes until it feels evenly incorporated and the dough tightens slightly. Cover the bowl again.
4. Bulk fermentation with stretch and folds (2:00–6:30 p.m.)
This is where a no-knead sourdough builds its strength. Every 30 to 45 minutes, do one set of stretch and folds: with a wet hand, grab the edge of the dough, stretch it up until you feel resistance, and fold it over the center. Rotate the bowl a quarter turn and repeat until you've folded all four "sides" — that's one set. Do four sets total, then leave the dough alone.
Watch the dough, not the clock. Bulk fermentation is done when the dough has grown by 50 to 75%, feels airy and alive, shows bubbles on the surface and at the edges, and jiggles when you shake the bowl. At 70°F this typically takes 4 to 5 hours from mixing; at 65°F it can take 6 or more. Underproofing here is the number-one cause of dense first loaves, so when in doubt, give it another 30 minutes.
5. Shape (6:30 p.m.)
Turn the dough onto a lightly floured counter. Fold it loosely into a round, then let it rest uncovered for 20 minutes so the gluten relaxes. For the final shape, flip the round seam-side up, fold the bottom edge up, the sides in, and roll it down away from you into a tight ball, dragging it toward you once or twice to build surface tension. The skin of the dough should look taut, not tearing.
Place the dough seam-side up in a floured banneton or a towel-lined bowl. The floured side facing you now becomes the bottom of the loaf when you flip it out to bake.
6. Cold proof overnight (7:00 p.m.–morning)
Cover the shaped dough (a shower cap or plastic bag over the bowl works) and refrigerate for 8 to 16 hours. The cold proof is the beginner's best friend for three reasons: it deepens flavor, it firms the dough so it's dramatically easier to score, and it turns the schedule flexible — baking at 8 a.m. or 11 a.m. both work.
7. Bake (next morning)
Put the Dutch oven, with its lid, into your oven and preheat to 450°F (230°C) for a full 45 minutes to 1 hour. A thoroughly heated pot is non-negotiable — it's your oven within the oven.
Take the dough straight from the fridge and flip it onto a sheet of parchment. Score the top with one confident slash, about ½ inch deep, at a shallow angle. Lower the dough by the parchment into the hot pot, cover, and bake:
- 20 minutes covered — steam from the dough itself keeps the crust soft while the loaf springs upward.
- 20 to 25 minutes uncovered — the crust browns and crisps. Pull it when the crust is deep brown, verging on mahogany. Pale bread is underbaked bread.
If you have a thermometer, the center of the loaf should read 205–210°F (96–99°C).
8. Cool — completely
Move the loaf to a wire rack and wait at least one hour. Slicing hot sourdough smears the crumb into gumminess because the interior is still finishing its structure as steam escapes. The crackling sounds the crust makes while cooling are your reward for waiting.
Troubleshooting Your First Loaf
Dense, gummy, or flat loaf. Almost always underfermentation: either the starter wasn't at peak strength when you mixed, or bulk fermentation was cut short. Verify the float test next time and extend bulk until the dough is visibly risen and bubbly — hours matter less than appearance.
Dough too sticky to shape. Some stickiness is normal at 72% hydration. Use a floured counter, work quickly with a bench scraper, and resist adding lots of extra flour. If it's genuinely soup, your kitchen may be warm and the dough overfermented — shape it as best you can and bake it in a loaf pan; it will still taste great.
Loaf spread sideways instead of rising up. Usually weak shaping tension or overproofing. Build a tighter skin during final shaping, and shorten the cold proof toward 8 to 10 hours.
Storing and Serving
A cut loaf keeps 2 to 3 days at room temperature, cut-side down on a board or in a paper bag — never the refrigerator, which stales bread faster. For longer storage, slice the cooled loaf, freeze it in a zip-top bag, and toast slices straight from frozen; quality holds for about a month.
Day-two sourdough toast is arguably better than day one. A Northwest favorite in our kitchen: thick slices toasted dark, spread with butter and honey, and showered with chopped toasted hazelnuts — the crunch against the chewy crumb is worth the extra five minutes.
Where to Go From Here
Once this loaf is in your rotation, the variables become play instead of stress: swap in 10–20% whole wheat, stretch the cold proof for tangier flavor, or try higher hydration for a more open crumb. Our breads collection builds on this exact base formula, with timing notes tuned for the cool, damp kitchens most of us in the Northwest actually bake in.
Your first loaf won't be perfect. It will, however, be real bread you made from flour, water, and salt — and the second one is always better.